Last week I was caught up in the frenzy of many things -- The "Seasonal allergy" frenzy(Must have kick started from the day I stood under the Cherry Blossoms tree in Washington D.C), "Work related frenzy(it was a super busy week)", "Blogging Marathon" Frenzy and lastly the "Mega Million" Frenzy. So did you guys buy the lotto? Me and my hubby bought 10 tickets which led me day-dreaming about things that I would and wouldn't do if I won the $640 million lotto. And I definitely thought to myself that I would do my best not to self-destruct or go bankrupt like some of the lucky winners in the past. That bubble burst yesterday night after the lottery drawing time. He He. Its okay, there is always next time.
Before I go to the main topic of this post, I wanted to recap what I posted for BM#14-
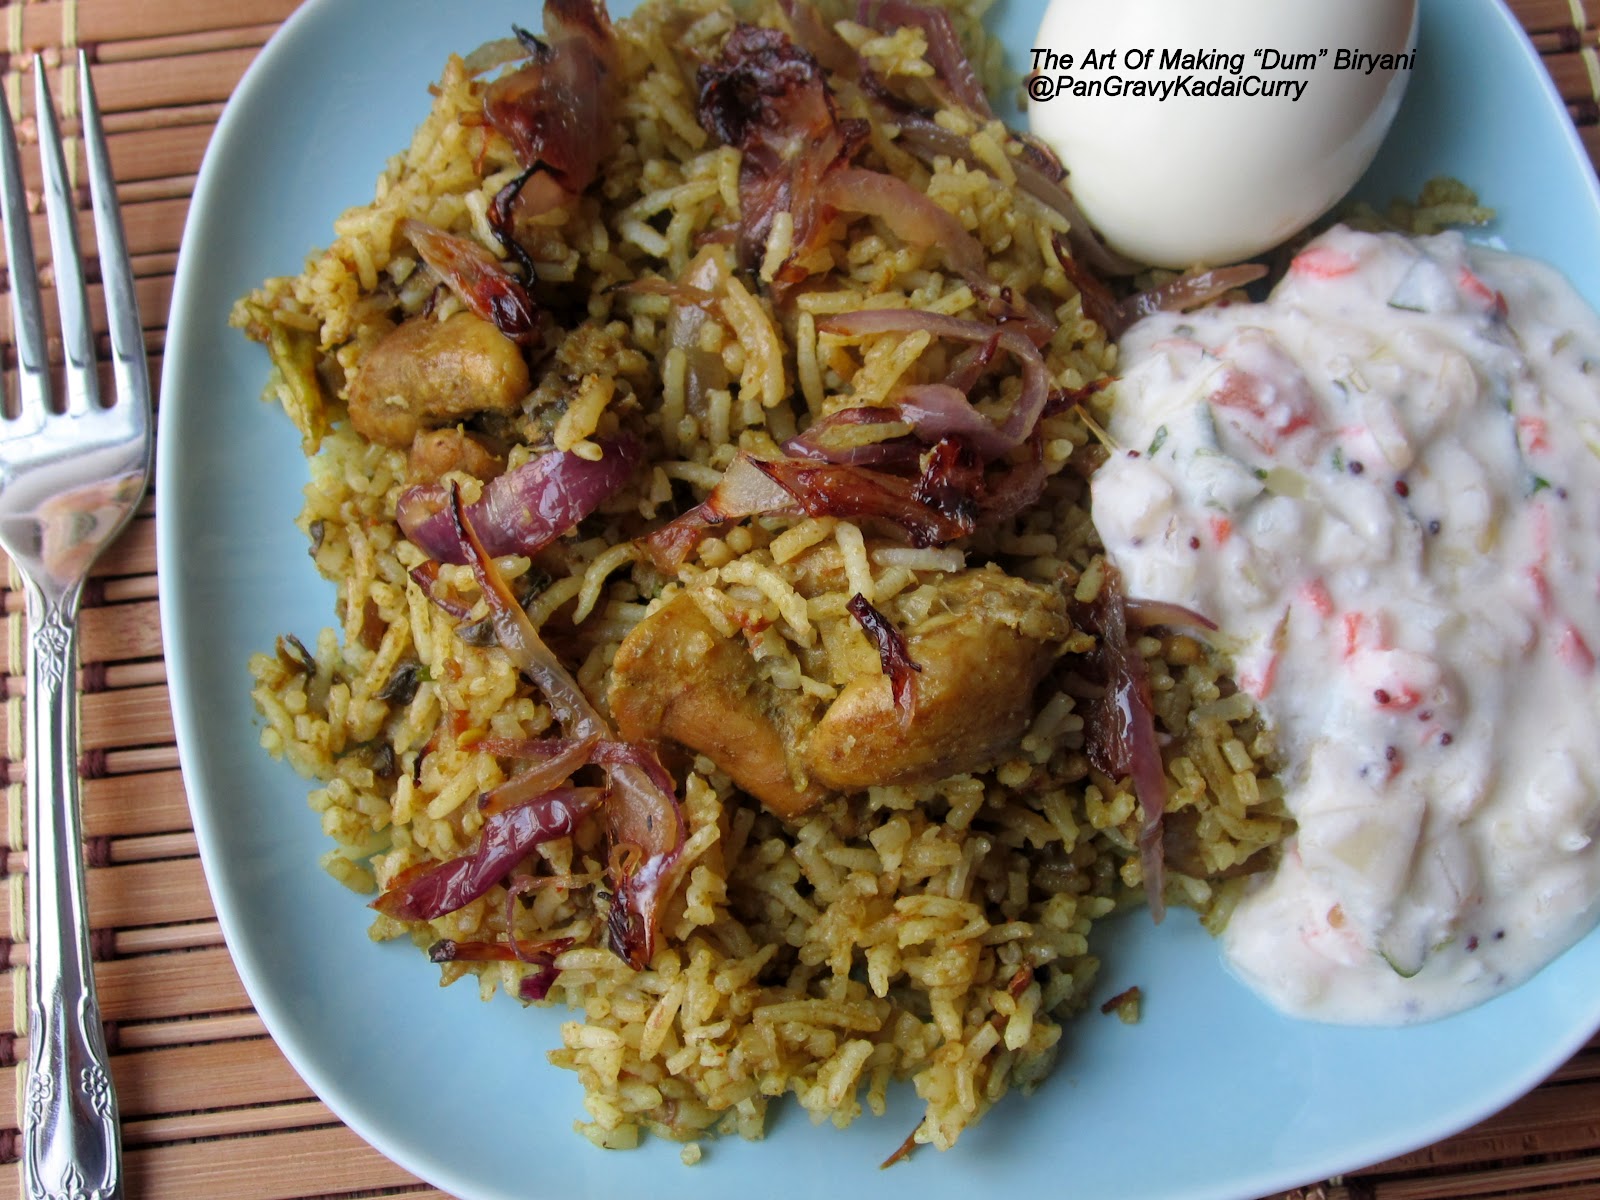
This Indian dish,Biryani, of "Persian origin" brought to India by Iranian merchants/travelers, is a one pot wonder made with rice, vegetables (or) vegetable + meat/pultry/seafood combo, seasoned with a fragrant blend of spices and eaten along with Raita. Dum Biryani, a slow-cooked biryani with layers of rice and seasoned vegetables(+/- meat/chicken/seafood) is made in a pot that is completely sealed with a ring of wheat dough and cooked over indirect heat for about 30 minutes or so to promote even cooking. The flavor infusion is phenomenal when cooked this way and the end result is sure to hit all the right spots. As most of you know, India is a country well known for its spices and there isn't a dish that celebrates the harmonious blend of spices more than Biryani.
For making this Dum Biryani, you will need a good quality, thick bottomed casserole with lid, like my trusty 4-Qt All-Clad Casserole to prevent charring/burning at the bottom. While there are many dishes where charring is plus(Charred tacos, Charred Vagetables..I know there is a huge fan-following for charred dishes..), this dish is not one of them. Every grain of rice and the other ingredients should be moist, juicy, tender, succulent..you get the idea?? Please do me a favor and eat this Biryani with hands, just the way it was meant to be relished.
Sending this as a last minute entry to Indian Food Palooza.

 Ingredients(Serves 6-8):


Enjoy!
Before I go to the main topic of this post, I wanted to recap what I posted for BM#14-
- Day1: Andhra Pesarattu Stuffed With Upma and Ginger Chutney "Green Lentil Crepe"
- Day2: Plain Dosa/Sada Dosa "Rice and Black Gram Crepe"
- Day3: Thakkali Dosa "Tomato Dosa"
- Day4: Avocado Dosa + DC Cherry Blossoms
- Day5: Udipi Paan Polo/Neer Dosa With Cauliflower and Peas Kurma "Leaf Thin Crepe"
- Day6: Mom's Adai With Avial "Rice and mixed Lentil Crepe"
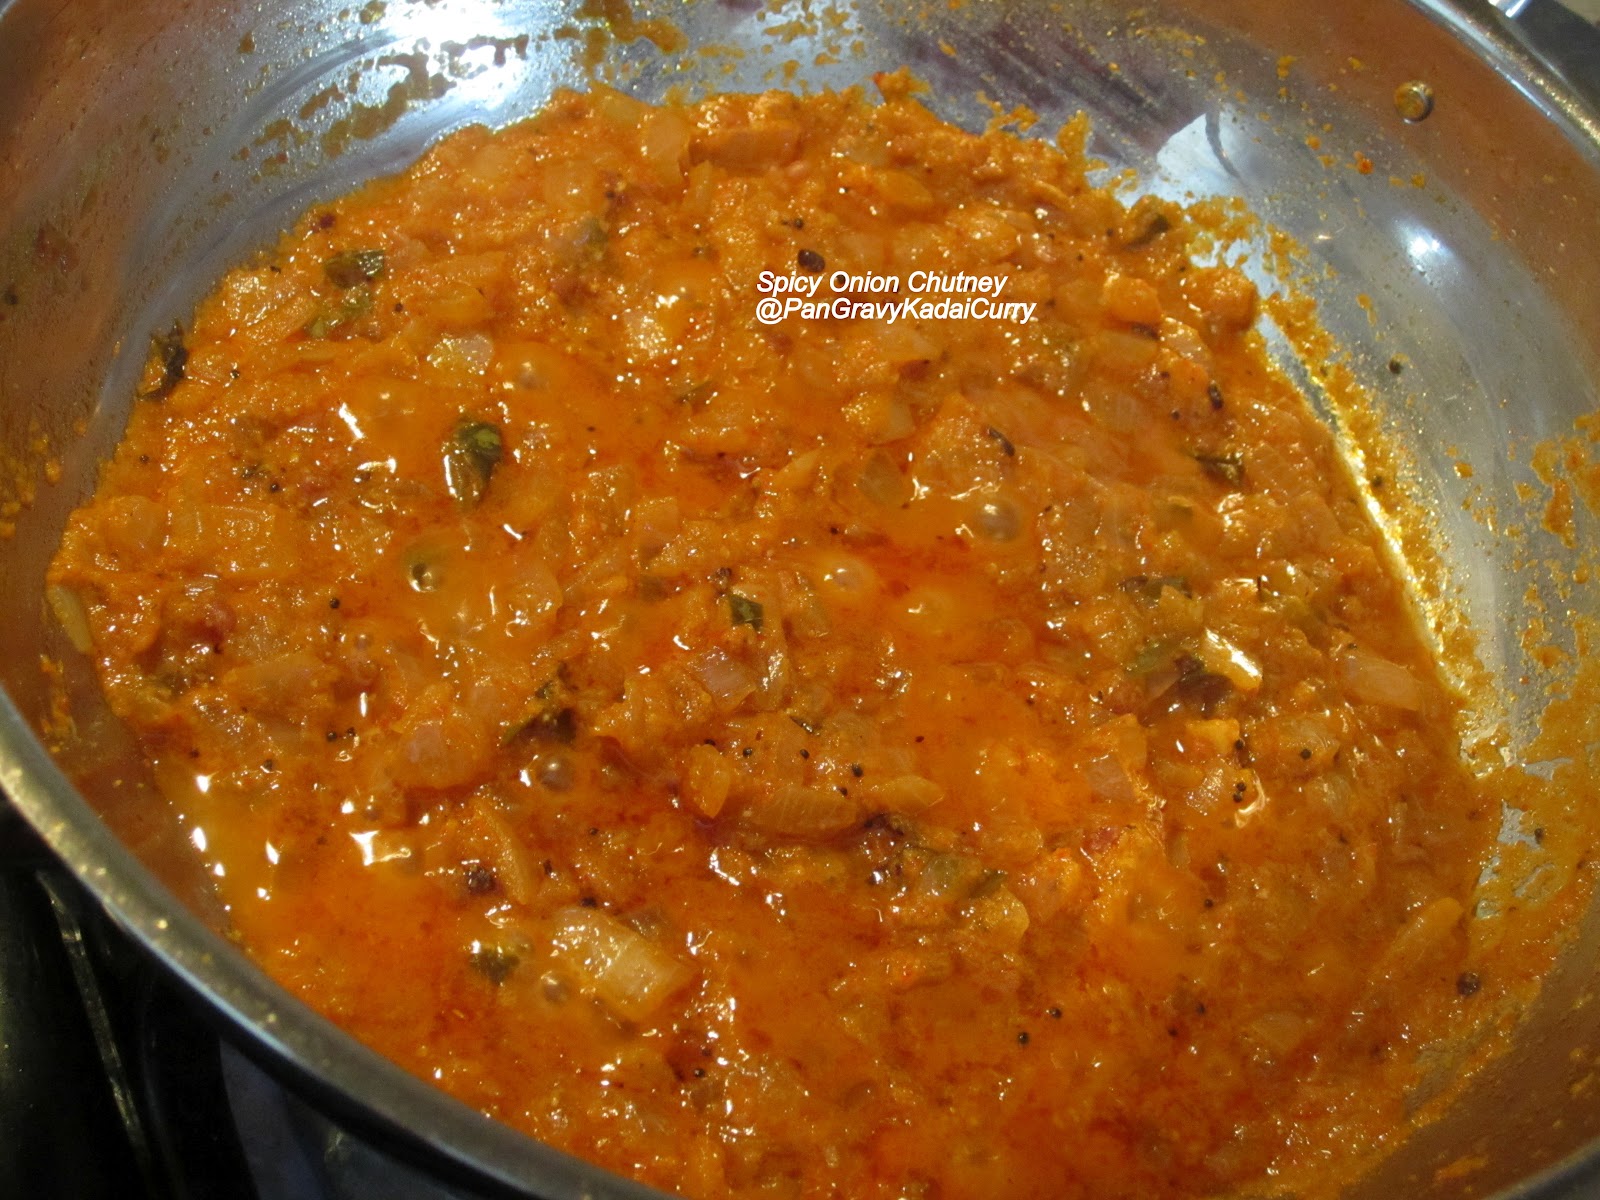
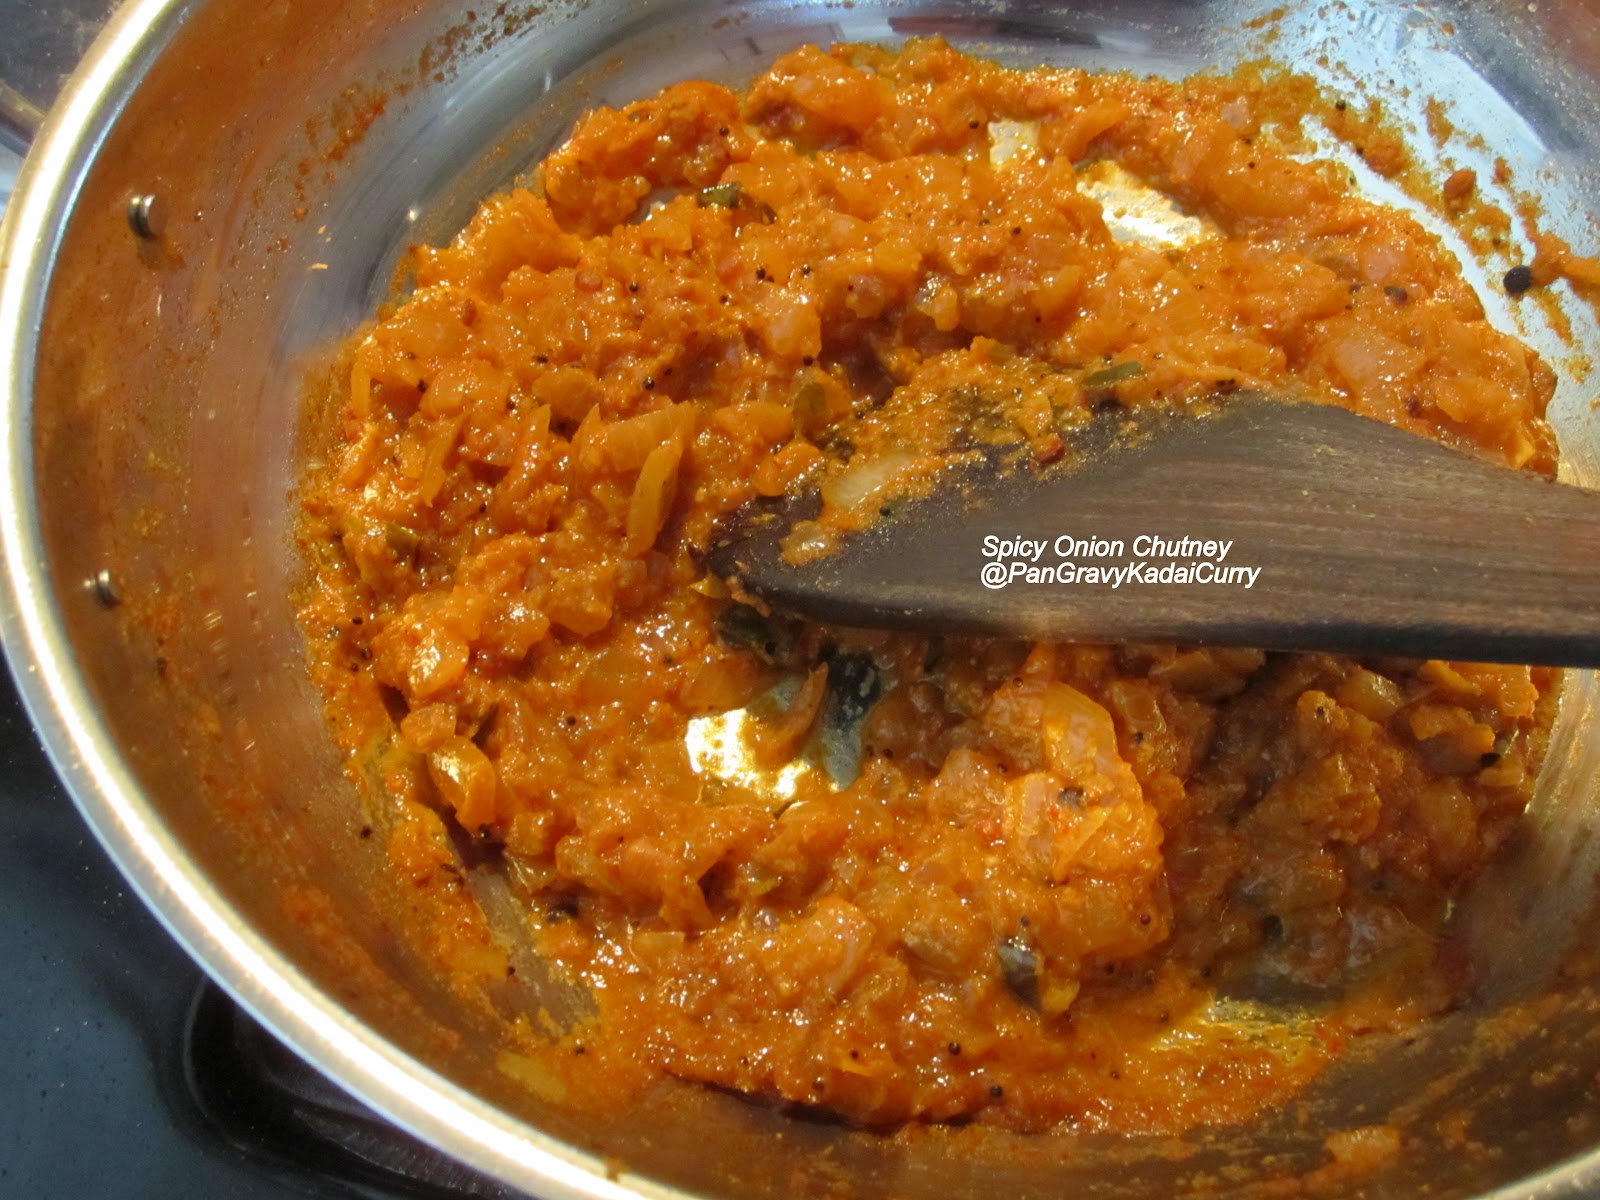
- Day7: Ragi Dosa With Spicy Onion Chutney "Finger Millet Crepe"
This Indian dish,Biryani, of "Persian origin" brought to India by Iranian merchants/travelers, is a one pot wonder made with rice, vegetables (or) vegetable + meat/pultry/seafood combo, seasoned with a fragrant blend of spices and eaten along with Raita. Dum Biryani, a slow-cooked biryani with layers of rice and seasoned vegetables(+/- meat/chicken/seafood) is made in a pot that is completely sealed with a ring of wheat dough and cooked over indirect heat for about 30 minutes or so to promote even cooking. The flavor infusion is phenomenal when cooked this way and the end result is sure to hit all the right spots. As most of you know, India is a country well known for its spices and there isn't a dish that celebrates the harmonious blend of spices more than Biryani.
For making this Dum Biryani, you will need a good quality, thick bottomed casserole with lid, like my trusty 4-Qt All-Clad Casserole to prevent charring/burning at the bottom. While there are many dishes where charring is plus(Charred tacos, Charred Vagetables..I know there is a huge fan-following for charred dishes..), this dish is not one of them. Every grain of rice and the other ingredients should be moist, juicy, tender, succulent..you get the idea?? Please do me a favor and eat this Biryani with hands, just the way it was meant to be relished.
Sending this as a last minute entry to Indian Food Palooza.

- 3 Cups "Aged" Basmati Rice,cleaned and soaked in cold water 30 minutes prior to cooking( I used the brand "India Gate" 1-yr old aged rice)
- 8 Chicken Thighs, skinned and cut into bite size pieces
- 2 Medium Red Onion, peeled and vertically slit
- 2 Roma Tomatoes, cut into big chunks
- 10 Hot Green Chili, pierced at several places
- 2 Tbsp Ghee "Clarified Butter"
- 2 Tbsp Coriander Powder
- 1/2 Bunch Cilantro, chopped
- 1/4 Cup Whole Milk
- 8 Stalk Mint,leaves picked and chopped
- Whole Spices: 5 Bay Leaf + 1/2 Stick Cinnamon + 1 Star Anise + 4 Cloves + 3 Cardamoms
- Olive Oil
- Salt, as needed
For the Green "Ground Masala":
- 1 Small Bunch Cilantro, cleaned
- 1/2 Yellow Onion
- 2 Hot Green Chili
For the "Ground Spices":
- 3 Cloves
- 1 Cardamom
- Tiny piece of Cinnamon Stick
- 1/4 Of Star Anise
For the "Chicken Marinade"
- 3 Tbsp Thick Yogurt
- 1/2 Tsp Turmeric Powder
- A few grinds of Pepper
- 1 Tsp Lemon
For "Lining the pan"
- Wheat Flour
- Water to make a dough out of the wheat flour
Procedure:
- Marinate the cut and cleaned chicken with the ingredients under "Chicken Marinade". Marinate it anywhere from 4 hours to over-night.
- Finely grind the spices under "Ground Spices" using a mortar and pestle. Note: Grinding the spices intensifies the flavor.


- Cut, Chop the vegetables for the biryani.

- Clean and ready the ingredients for the "Green Ground Masala".

- Grind it to a fine puree with very less water.

- Soak the rice in cold water for 30 minutes.

- Drain the rice completely. Spritz some oil in a non-stick pan and fry the rice "gently". Soaked rice are prone to breaking.

- In a deep casserole dish, add about half a gallon of water. Don't worry about exact measurements because the rice is getting cooked for 8-10 minutes and getting drained of that water. Add a few drops of oil and little salt to this water and bring to a roiling boil. Add the fried rice and cook with lid for about 8 minutes. Don't go beyond 10 minutes because we want the rice to be "under-cooked" for the time being.

- After 8-10 minutes of cooking, drain the rice immediately. Spread it on a wide plate and let it cool.At this point the rice is 60-70% cooked.

- Meanwhile, heat the oil and ghee in a wide non-stick pan. Then add the ground spices, whole spices and the small garlic cloves to the pan.

- Add the mint leaves, onions to the pan. Brown the onions. Please make sure the onions are well and truly browned. It is very essential for a good biryani.

- Once the onions are browned, add the slit green chilies.

- Follow-up with the tomatoes. Lid the pan and let it cook for about 5 minutes on a medium flame.

- Add the coriander powder and stir the mixture well.

- In goes the green ground masala. Sprinkle salt as needed.

- Add the marinated chicken pieces and stir well to coat it with the mixture in the pan.

- Add the milk. mix and let the chicken cook for about 15 minutes. Check for taste, add chili powder or salt if needed.

- Add a portion of the chicken mixture to thick-bottomed pan.

- Top it with the partially cooked rice.

- Keep alternating between the rice and chicken mixture. When finishing up, rice should be at the top. Garnish with chopped Cilantro and Mint. There are "two" ways to seal the pan: 1. Coat the rim with little oil, make a dough, roll and line around the rim. Lid the pan and seal it shut. 2. Lid the pan, smear with a little oil and seal it by lining the dough from outside. I went with #1.

- After the pan is sealed shut, add weight on top. Dum Technique: Cook at low flame in indirect heat. I placed a cast-iron griddle/tava, then place the pan atop the tava. Add weights to the top(Optional). I placed my heavy mortar and pestle on the top. Cook at low flame for 25-30 minutes.

- Optional but highly desired: While the biryani is cooking on Dum, fry some thinly slit brown onions.

- Open the pan, garnish the biryani with fried onions and serve with Raita(Yogurt based dish) and boiled egg.


Enjoy!


